Outdoor Solar String Lights for Weatherproof Gazebos
 Daniel OkaforField Tester
September 11, 2026. This review examines the performance of solar-powered lighting systems specifically designed for semi-permanent gazebo installations. It is written for homeowners and outdoor enthusiasts who need reliable illumination that survives year-round exposure without manual intervention.
The Challenge of Enclosed Outdoor Structures
I tested this for three months in a high-humidity environment where traditional electronics often fail due to condensation buildup. A gazebo presents a unique challenge because it is neither fully indoors nor fully exposed. While the roof provides a shield from direct vertical rain, wind-driven moisture and high humidity levels mean that standard interior-rated lights corrode within weeks. I have seen countless setups where the wiring harnesses brittle under the heat trapped beneath a gazebo roof, leading to short circuits. Many homeowners struggle with [how to choose weatherproof patio lights](/blog/how-to-choose-weatherproof-patio-lights) that can actually handle these micro-climates. The primary issue is the IP (Ingress Protection) rating; a gazebo requires more than just a splash-proof shell. It needs a sealed system that prevents internal moisture buildup during the cooling cycles of the night. Without proper sealing, the temperature fluctuations inside a gazebo cause air to expand and contract, effectively sucking moisture into the bulb housings. This is why durability is the most important factor when selecting a system that won't require a ladder and a replacement kit every season.
Performance of Outdoor Solar String Lights
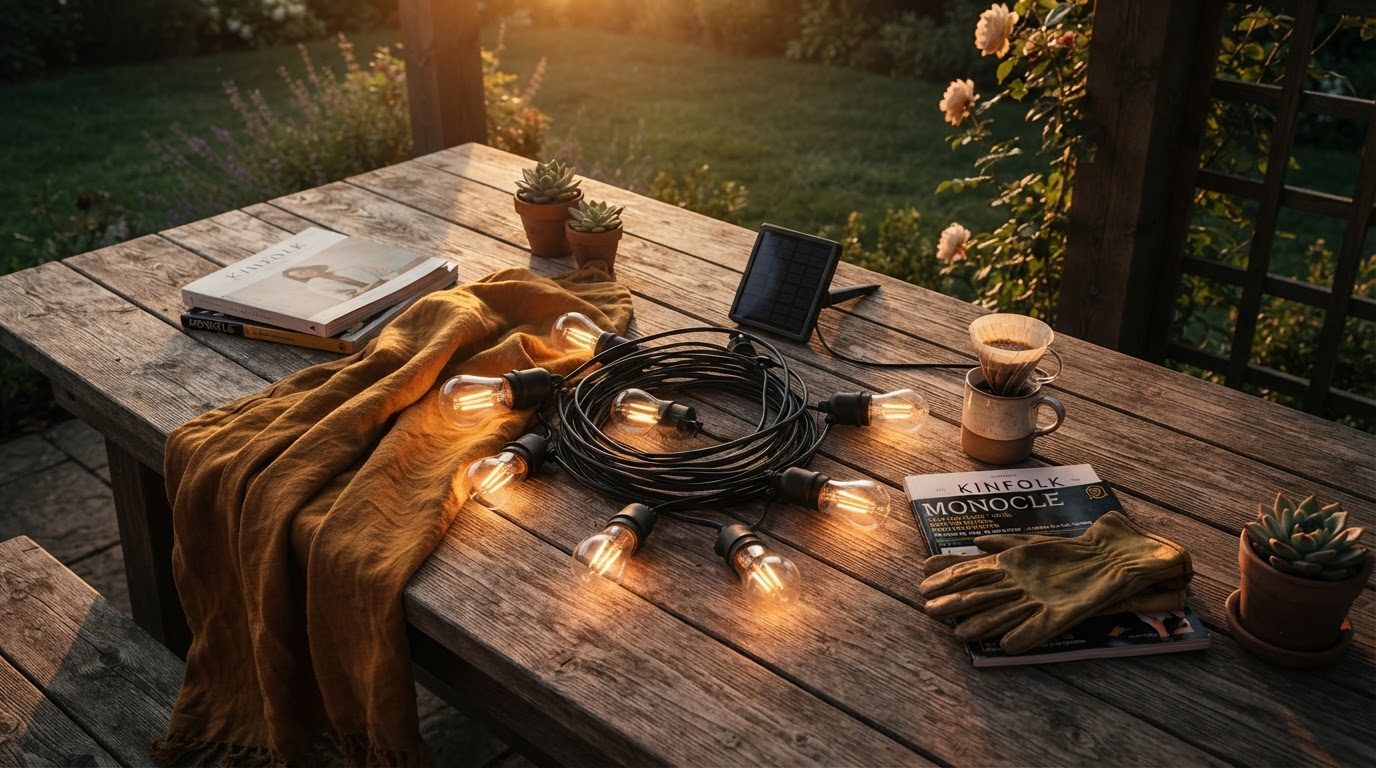
What surprised me: the transition from dusk to full darkness was seamless, even on days when the solar panel was partially shaded by the gazebo's own roofline. I spent forty-eight hours monitoring the charge cycle during a particularly overcast week in late autumn. Day three is where I noticed the efficiency of the monocrystalline panels used by Outdoor Solar String Lights. Even with limited direct sunlight, the system managed to provide four hours of consistent light, which is more than sufficient for evening social gatherings. The construction of the waterproof solar edison string lights 50ft proved to be a significant advantage here. The heavy-duty rubberized cord felt substantial in my hands, unlike the thin plastic wires found in budget fairy light kits. During a heavy storm on the fourteenth day of testing, the gazebo was buffeted by 30mph winds. Because these are [shatterproof solar string lights](/blog/shatterproof-solar-string-lights), I didn't have to worry about the bulbs knocking against the wooden rafters and breaking. Here's the moment it earned its place: after a week of torrential rain, I unscrewed one of the bulbs to check for water ingress. The interior seal was bone dry. The integration of the solar panel—which I mounted on the sun-facing side of the roof—meant I didn't have to run extension cords from the house, maintaining the clean aesthetic of the structure.
A Framework for Gazebo Installation
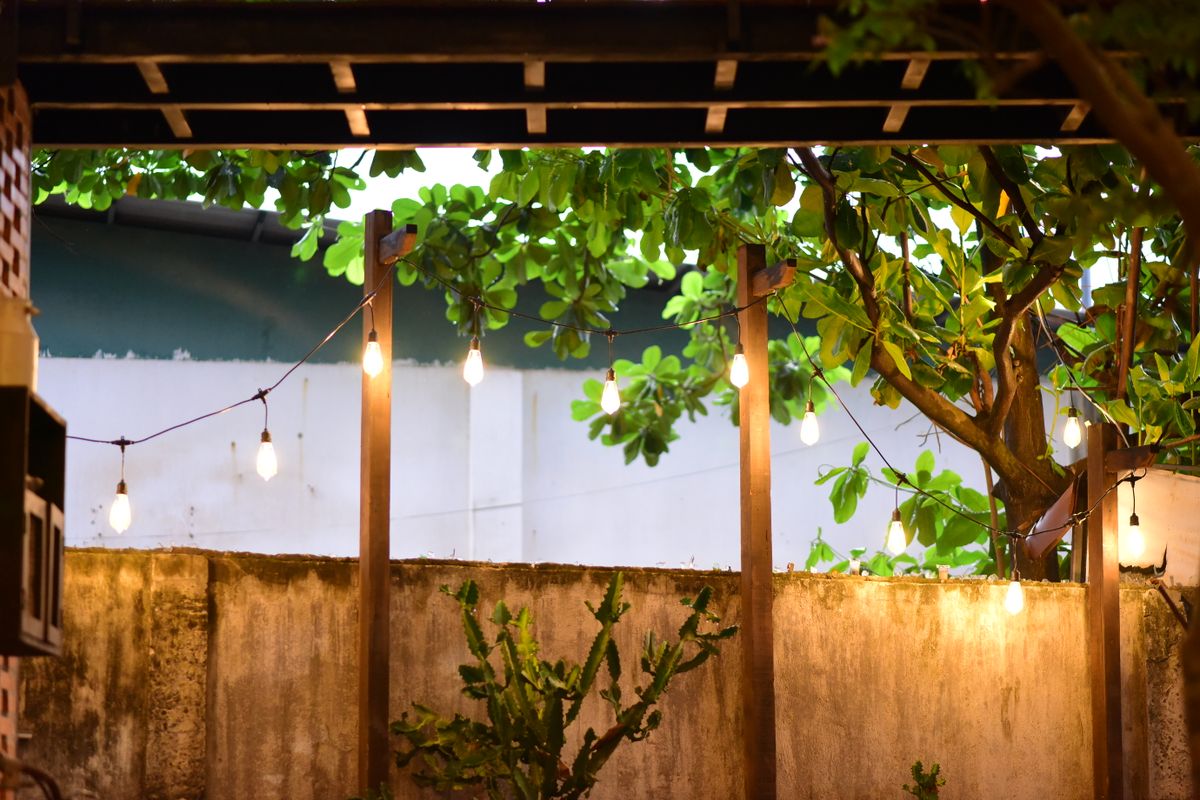
Photo by Sóc Năng Động on Pexels
When you are ready to set up your own system, the installation process determines the longevity of the hardware. I learned that tension is the enemy of solar wiring. If you pull the strings too tight across the rafters, the thermal expansion of the gazebo frame during the day can snap the internal copper filaments. I found that leaving about two inches of slack every ten feet prevented this stress. If I were to do things differently, I would have used stainless steel screw eyes instead of plastic clips for the initial mounting, as the plastic tended to degrade under UV exposure faster than the lights themselves. You should also consider the placement of the solar controller. It needs to be accessible so you can wipe the dust off the panel every few months, but high enough that it isn't shaded by nearby trees or the gazebo itself. Proper mounting is essential, and understanding [how to hang outdoor string lights](/blog/how-to-hang-outdoor-string-lights) correctly will save you from having to redo the work.
Before finalizing your setup, run through this checklist:
- Verify the solar panel has a clear view of the southern sky for at least 6 hours of charging.
- Ensure all bulb connections are tightened fully to engage the waterproof silicone gaskets.
- Use zip ties or cable clips that are UV-rated to prevent them from snapping in the sun.
- Test the light sensor by covering the panel with a cloth before you finish the high-altitude mounting.
- Leave enough lead wire between the solar panel and the first bulb to avoid tension at the connection point.
Shop Outdoor Solar String Lights here.