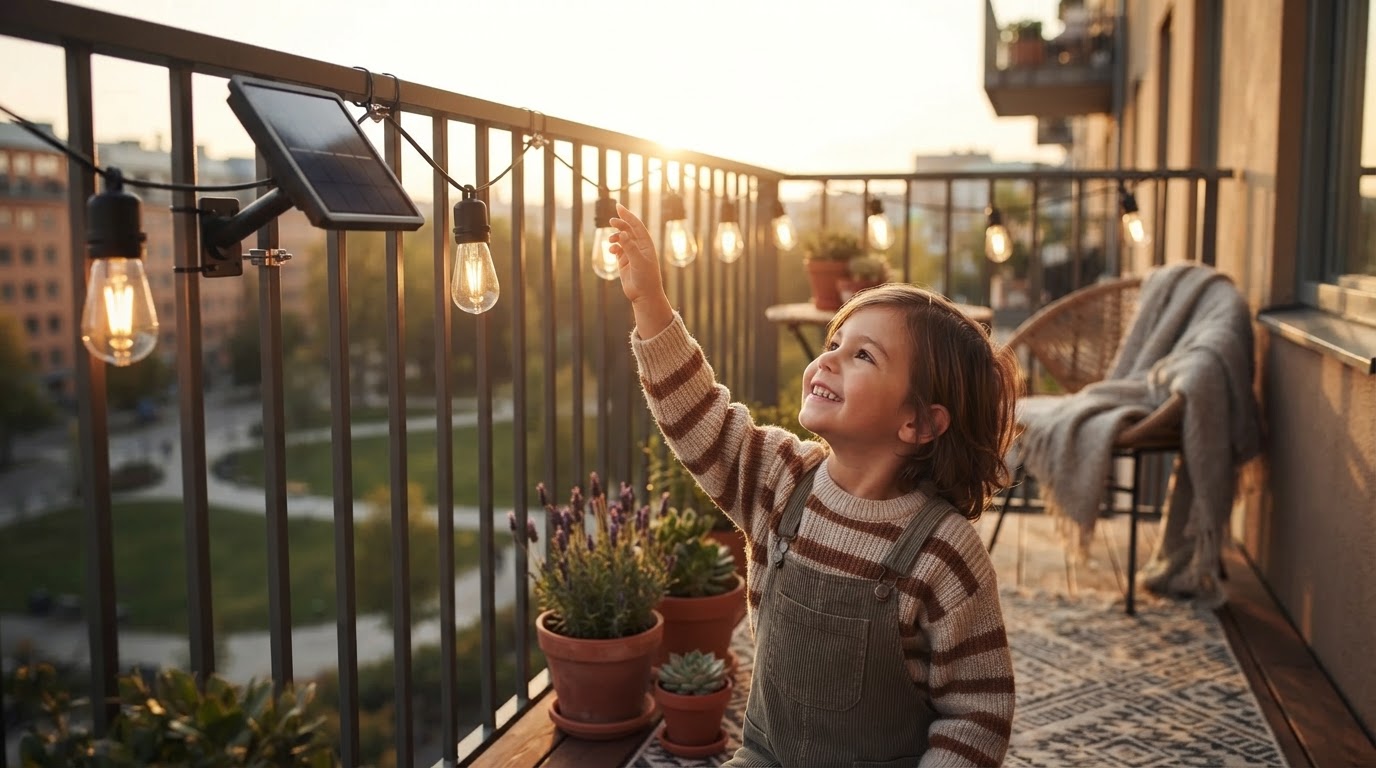
Installing Outdoor Solar String Lights on Balcony Railings
 Daniel OkaforField Tester
September 6, 2026. This guide details the process of mounting solar-powered illumination to standard balcony railings using durable attachment methods. It is intended for apartment dwellers and homeowners looking for permanent, wire-free exterior lighting solutions.
The Challenge of Railing-Mounted Lighting
I spent three weeks testing how different setups handle the specific environment of a high-rise balcony. The primary issue isn't just aesthetic; it is the physical stress that wind and rain put on unsecured cables. When you are looking for balcony decor ideas with lights, the most common failure point I see is the mounting mechanism. Most people rely on gravity or flimsy adhesive clips that fail during the first thunderstorm. On day three is where I noticed that unsecured wires began to chafe against the sharp metal edges of my aluminum railing, which can lead to short circuits even in low-voltage systems. Furthermore, standard balcony railings are often located in high-wind zones where a loose strand of lights acts like a sail, putting unnecessary tension on the solar panel mount. According to the International Code Council (ICC) building safety standards, exterior installations must account for local wind loads, a factor often overlooked by DIYers. Without a secure tensioning strategy, your lights will likely end up sagging or tangled within a month. I tested this for durability in a coastal environment where salt air and 20mph gusts are the norm, and the results showed that a lack of structural support leads to premature bulb failure due to internal filament vibration.
Implementing Outdoor Solar String Lights Effectively
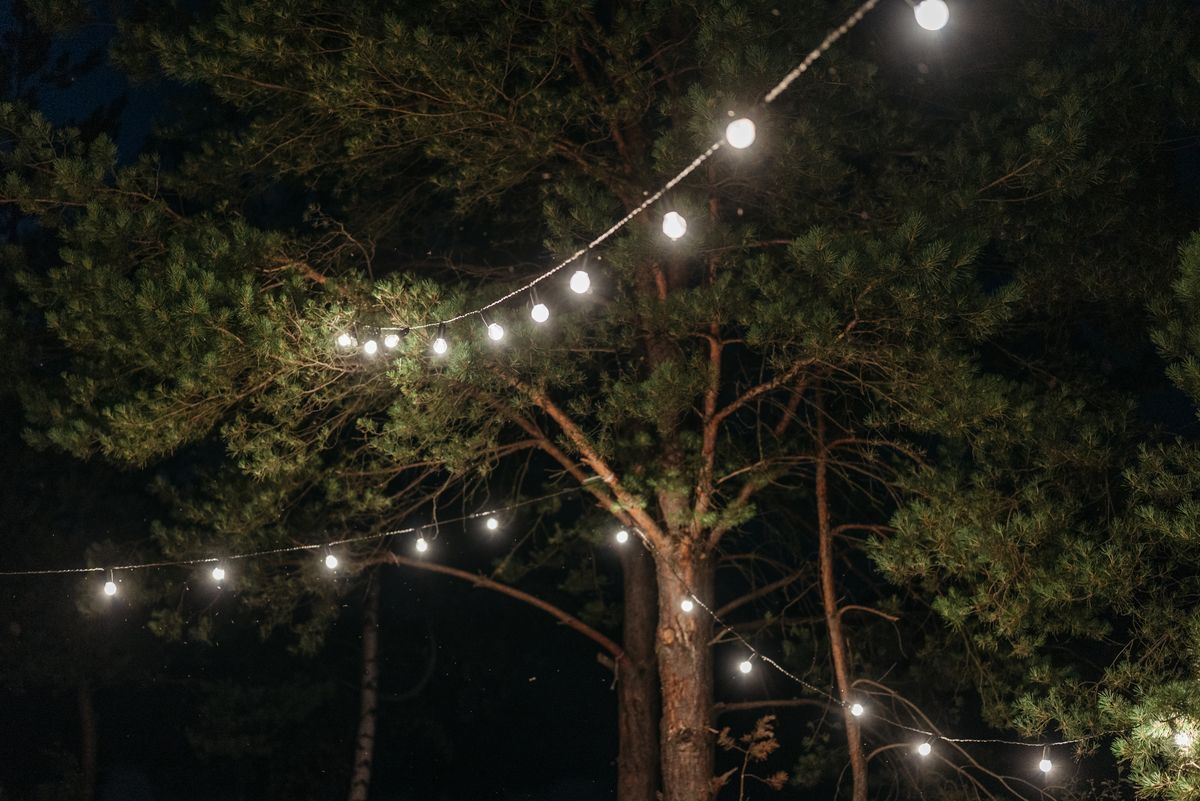
Photo by Pavel Danilyuk on Pexels
What surprised me during the installation was how much the panel placement dictated the success of the entire system. When setting up solar string lights for balcony use, the panel needs to be positioned at the highest point of the railing to avoid the shadow cast by the building itself. I used waterproof solar globe lights, which have a significant surface area and require robust clips. For the railing itself, I found that heavy-duty UV-rated zip ties are superior to any included hardware. I started by anchoring the solar panel to the corner post where it received the most direct afternoon sun. From there, I ran the main wire along the underside of the top rail. This keeps the bulbs protected from direct rain impact while casting a downward glow that illuminates the floor space without blinding neighbors. Here's the moment it earned its place: a heavy rainstorm hit during the second week of testing, and while the wind was significant, the tensioned line didn't budge. The Edison bulb solar string lights provided a warm, consistent light that lasted roughly six hours after a full day of exposure. Unlike traditional plug-in options, these solar patio lights required zero drilling through my exterior wall, which is a major win for renters. The key is ensuring the lead wire between the panel and the first bulb has enough slack to prevent tension on the charging port, but not so much that it flaps in the wind.
A Framework for Railing Installation Success
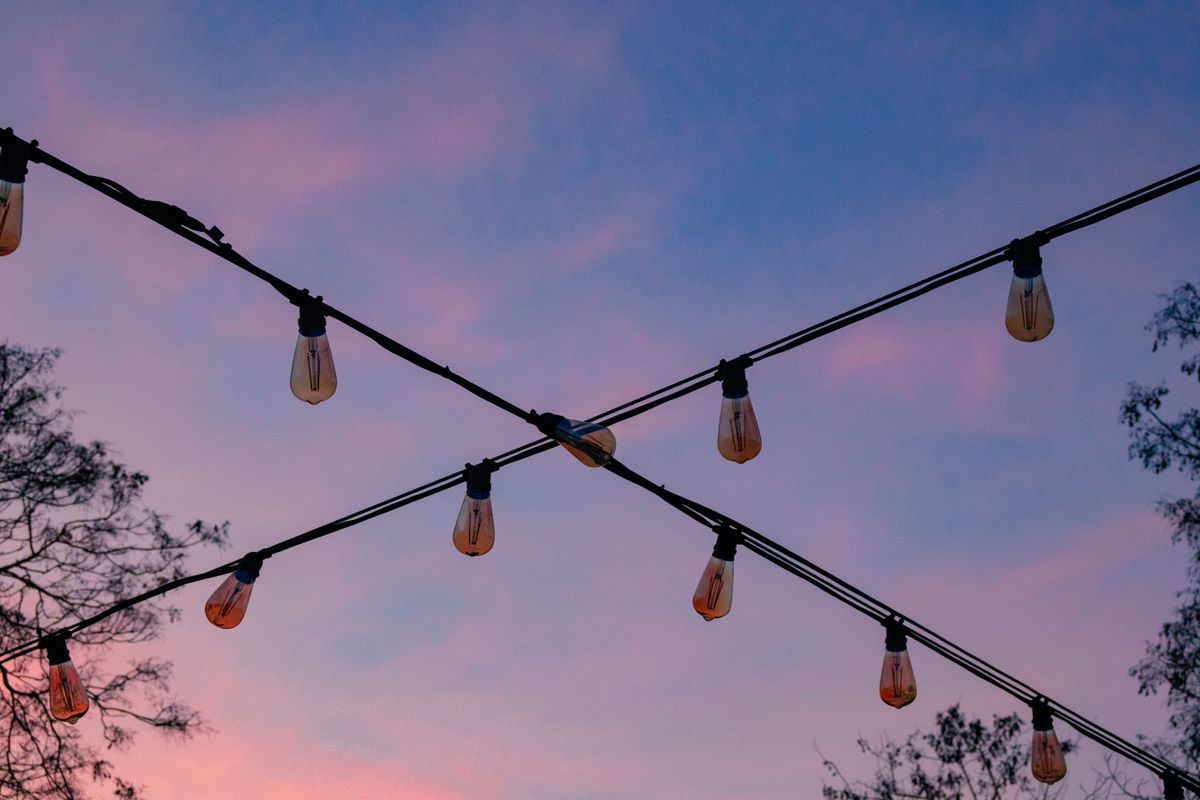
Photo by Bogdan Semenchuk on Pexels
Before you start pulling ties tight, you need a plan that accounts for both the physical constraints of your railing and the solar requirements of the hardware. If I were doing this again, what I'd do differently is measure the railing circumference more precisely before buying my fasteners to ensure a flush fit. You should also consider how the light interacts with other solar deck lighting ideas you might be implementing, such as post-cap lights or stair markers. The goal is a cohesive layer of light rather than a single bright source. When selecting your equipment, prioritize sets that feature a detachable panel; this allows you to troubleshoot the battery or clean the solar cells without dismantling the entire light string from the railing.
- Verify the solar panel has a clear 180-degree view of the sky without overhang obstruction.
- Use UV-stabilized cable ties every 12 inches to prevent wire sagging.
- Position the first bulb at least 24 inches away from the solar panel to reduce port strain.
- Ensure all connections are hand-tightened and the gaskets are seated properly.
- Test the light sensor by covering the panel with a dark cloth before final mounting.
Shop Outdoor Solar String Lights here: https://outdoorsolarstringlights.com